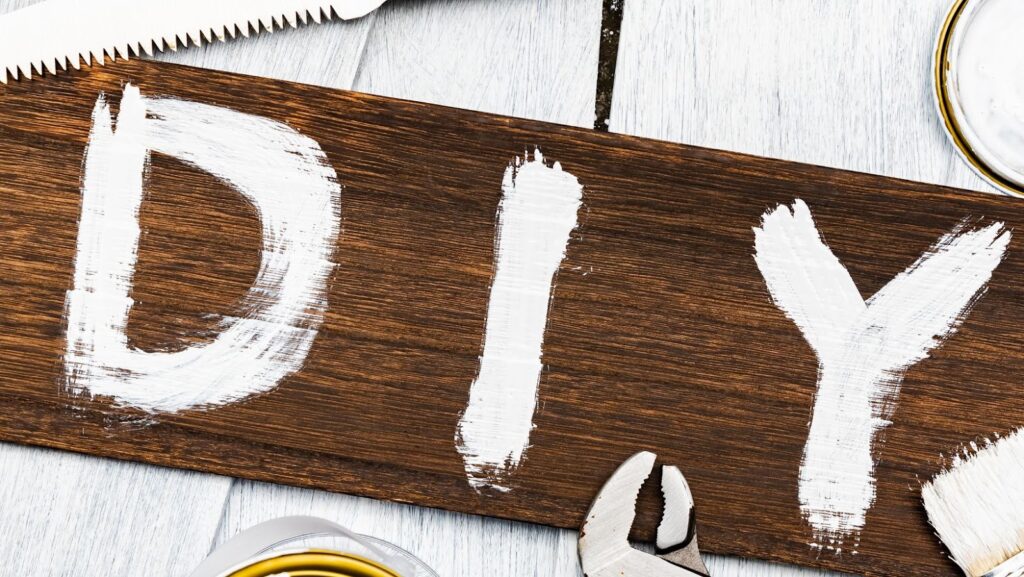
Did you know you can easily spruce up your home with fun and creative DIY home decor crafts? From making your wall art to repurposing old items, these easy-to-follow crafts will give your home a unique and personal touch.
Let’s get into the details and explore some of the most amazing DIY crafts you can use to transform your home.
Handmade photo frames using recycled materials
Making handmade photo frames using recycled materials is a fun and creative way to add a personal touch to your home decor. Here are some ideas for DIY projects using recycled materials:
Old books:
- Use the pages of an old book to create a vintage-looking photo frame.
- Cut a rectangle from the pages and fold it into a frame shape.
- Use glue to attach your photo to the back of the page.
CD cases:
Place your photo inside a clear CD case and use washi tape or paint to decorate the outside.
Clothespins:
Glue clothespins to a wooden board and use them to display photos.
Scrabble tiles:
Use Scrabble tiles to spell out names or words on a plain wooden frame.
Corks:
Glue wine corks together to create a one-of-a-kind frame.
Pro tip: Use your imagination and experiment with different materials to create unique frames that reflect your style.
DIY Wall art: Create a gallery wall with family pictures
Creating a gallery wall with family pictures is an innovative way to add a personal touch to your home decor while showcasing your memories.
Here are some tips on how to create a DIY gallery wall with family pictures:
- Choose a focal point: Select a wall in your home and choose a focal point, such as a large family portrait, as the centerpiece.
- Select pictures: Choose various pictures that tell a story or represent special memories. Mix and match color and black-and-white photos for added visual interest.
- Plan the layout: Lay the pictures on the floor and rearrange them until you find the perfect arrangement. Mix up the frame styles and sizes for a unique look.
- Hang the pictures: Once you plan the layout, start hanging the pictures, beginning with the centerpiece and working outward. Use a level to ensure straight lines.
Pro tip – To add an extra touch of personality, consider adding accent pieces or wall decor that complement your gallery wall theme.
DIY Dream catchers: Make a unique piece of wall art for your bedroom
Making a dreamcatcher is a fun and easy DIY home decor project that can add a unique touch to your bedroom wall. Here’s how to make your dreamcatcher:
1. Gather your supplies, including a metal hoop, string, feathers, and beads.
2. Tie the string to the hoop and begin weaving it in a circular pattern around it until it is completely covered.
3. Tie the end of the string to the hoop and add a second string, repeating weaving in a circular pattern but leaving a gap in the middle.
4. Add feathers and beads to the strings, tying them securely.
5. Hang your dreamcatcher on the wall to enjoy a unique piece of DIY home decor.
Pro tip: Experiment with different string colors and types of feathers and beads to personalize your dreamcatcher and fit your bedroom’s decor.
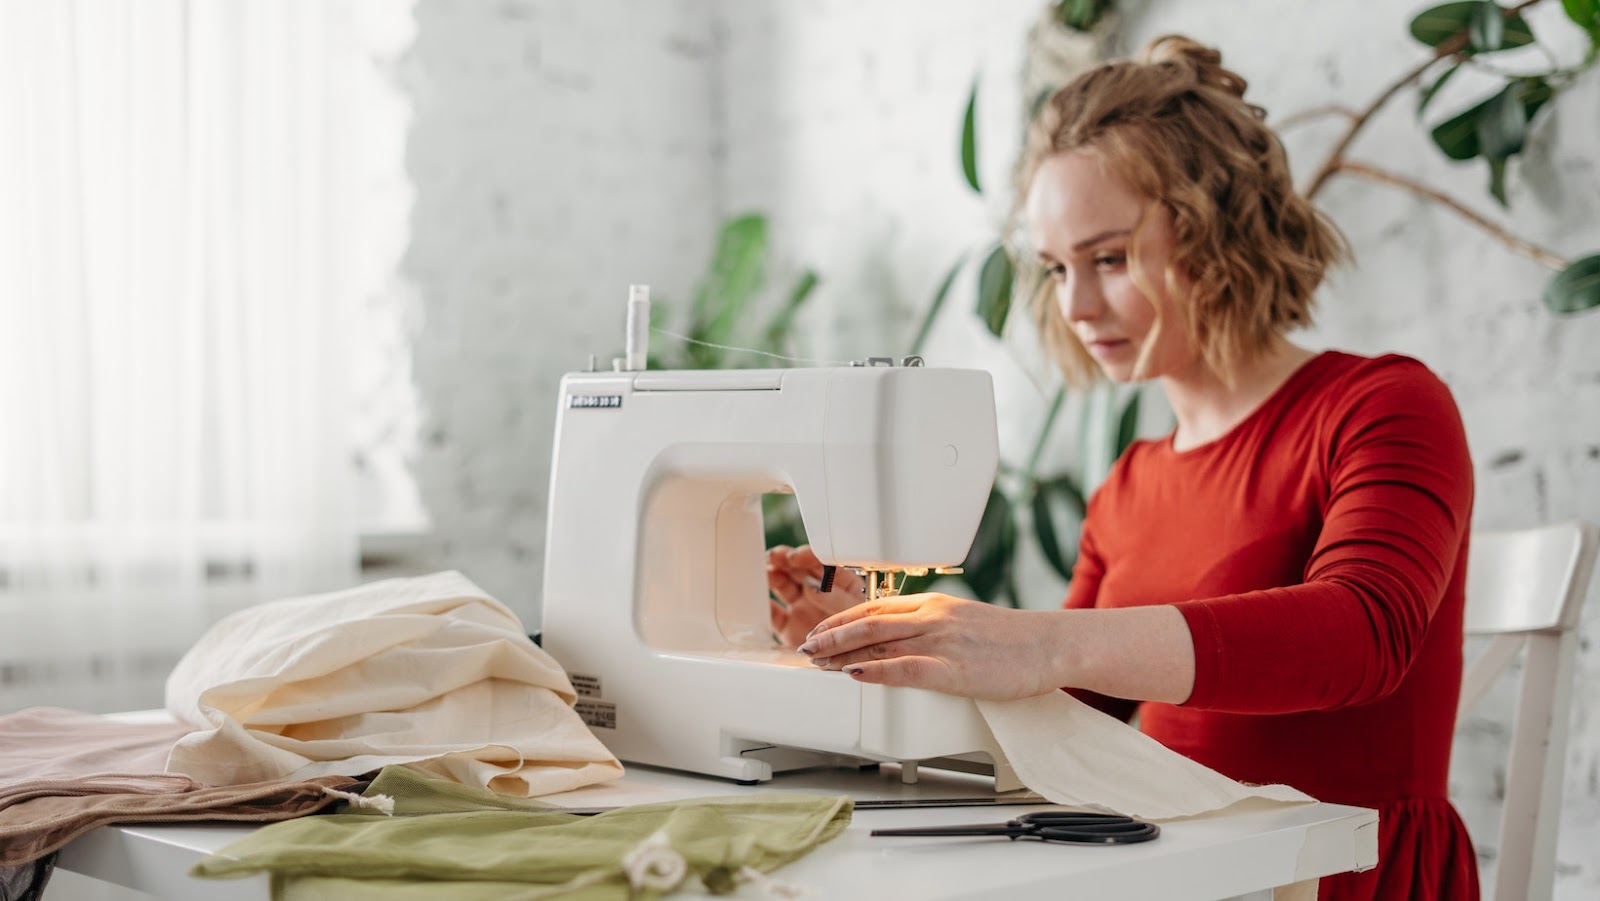
DIY Fashion Crafts
Do you love to express your creativity through fashion? If so, DIY fashion crafts can be a great way to show off your unique style and experiment with different looks. From making your t-shirts to creating accessories, there are various ways to get creative with these DIY fashion ideas.
Let’s explore some of the most fun and creative fashion crafts you can do yourself.
Upcycling old clothes: Make a boho-style denim jacket
Upcycling old clothes is not only an eco-friendly approach to fashion but allows for unique pieces that scream personality. Follow these simple steps to create your boho-style denim jacket from old clothes.
Materials
Old denim jacket
Fabric glue
Embroidery needle and thread
Lace trim
Fringe trim
Wooden beads
Steps:
Cut the lace and fringe trim to the length of your jacket.
Apply fabric glue to the back of the lace and trim the edges of your jacket.
Apply fabric glue to the back of the fringe and attach it to the bottom of your jacket.
Thread a needle and insert it through the back of the jacket.
Thread several wooden beads onto the needle and tie a knot in the thread to secure them in place.
Repeat the process to add beads to the front of the jacket.
Allow the glue to dry completely before wearing your new boho-style denim jacket.
Pro tip: Get creative with your boho-style jacket by adding patches, feathers, or pom-poms. The possibilities are endless!
DIY T-shirt tie-dye: Create your unique t-shirt designs
You can create your unique tie-dye t-shirts at home with a few basic materials and creativity. Here’s how to do it:
1. Choose your t-shirt: Start with a white, 100% cotton t-shirt for best results.
2. Create your tie-dye pattern: Use rubber bands, string, or zip ties to create patterns by binding different fabric sections.
3. Prepare your dye: Mix your chosen fabric according to the package’s instructions.
4. Apply the dye: Wearing gloves, submerge your t-shirt in the dye and let it soak for the recommended amount of time.
5. Rinse and dry: Rinse your t-shirt in cold water until the water runs clear, then wash it separately in cold water and dry it on low heat.
Your unique tie-dye t-shirt is now ready to wear! Pro tip: Experiment with different dye colors and binding techniques to create patterns and designs.
DIY Friendship bracelets: Make personalized accessories for your friends
Friendship bracelets are a great way to show appreciation and love for your friends while creating fun accessories that reflect your personalities. Here’s how to make them:
Gather embroidery floss in your preferred colors.
Cut four strands of floss, each measuring about 14 inches long.
Tie the strands together at one end and tape the knot to a flat surface.
Separate the strands so that there are two strands on each side.
Take the outermost strand on the left side and make a forward knot over the center strands. Repeat with the outermost strand on the right side.
Continue making forward knots until the bracelet reaches the desired length.
Tie the bracelet off with a knot and trim the excess floss.
You can use different knotting techniques, colors, and patterns to create unique bracelets for your friends.
DIY Holiday Crafts
Creating unique and meaningful DIY holiday crafts is a great way to show your creativity and make something special for someone else. Whether you’re looking for a unique gift idea or want to make something for yourself and the family, the Just Between Friends DIY Arts Crafts Blog has an ever-growing list of fun and creative crafts you can make.
Let’s look at some of the most popular holiday crafts to get you started.
Just Between Friends DIY Arts Crafts Blog
DIY Christmas ornaments are a wonderful way to add a personal touch to your holiday décor while creating memories with loved ones. Here are some ideas for creating DIY Christmas ornaments at home:
1. Pinecone Ornaments: Spray paint pinecones gold, silver or any other color you choose, and add a ribbon to hang them on your tree.
2. Salt Dough Ornaments: Mix flour, salt, and water, create various shapes, and bake them in the oven. Let them cool, then paint or decorate them as desired.
3. Cinnamon Stick Ornaments: Tie cinnamon sticks with twine, add a decorative bow, and hang on your tree. These ornaments smell amazing!
4. Paper Snowflakes: Fold and cut paper into intricate snowflake designs, and hang them on your tree with fishing line or ribbon.
Get creative, have fun with these DIY Christmas ornament ideas, and make your holiday season even more special!
Pro tip: Homemade ornaments also make excellent gifts for family and friends.
Handmade Valentine’s Day gifts: Create thoughtful gifts for your loved ones
Handmade Valentine’s Day gifts are a thoughtful way to show your love and appreciation for your significant other. DIY gifts are an excellent way to add creativity and personalization to your gift-giving.
Here are some simple, yet meaningful ideas for handmade Valentine’s Day gifts that you can create:
Love Coupons:
Create a set of love coupons your partner can redeem, such as a date night, breakfast in bed, relaxing massage, etc.
Handwritten Poem:
Write a heartfelt poem for your partner expressing your love and appreciation.
Personalized Mug:
Buy a plain white mug and decorate it with your partner’s favorite quotes or pictures.
Memory Book:
Create a memory book or scrapbook filled with photos, tickets, souvenirs, and other memorabilia that holds special meaning for both of you.
Handmade Jewelry:
Create a personalized piece of jewelry that represents your love and connection with your partner using beads, wire or polymer clay.
These DIY Valentine’s Day gifts will surely bring a smile to your loved one’s face and cherish the moments spent together.
Pro-tip: Incorporate your partner’s interests and hobbies into your handmade gift to make it more meaningful and thoughtful.
DIY Easter projects: Make festive decorations and treats for the holiday
Easter is just around the corner and it’s the perfect time to try DIY Easter projects to decorate your home and create tasty treats for the holiday.
Here are some fun DIY Easter projects you can try:
1. DIY Easter eggs: Dyeing Easter eggs is a classic activity, but why not try decorating them with glitter or using natural dyes made from veggies or fruits?
2. Bunny garland: Cut out bunny shapes from colorful construction paper and string them together to make a festive garland to hang around your home.
3. Easter wreath: Use a foam wreath form as a base and decorate it with colorful flowers, Easter eggs, or bunny cutouts for a beautiful Easter decoration.
4. Chocolate nests: Melt chocolate and mix in chow mein noodles or shredded wheat to create cute and tasty nests where you can place colorful candy eggs.
These DIY Easter projects are budget-friendly, fun to make, and will add a festive touch to your home this holiday.
DIY Crafts for Kids
DIY crafting is a great way to get creative with the kids. Whether it’s a rainy day, a birthday party, or just a way to keep them entertained, DIY crafting with kids can be a fun and rewarding. There are so many fun crafts that can be done with relatively inexpensive supplies that can be found around the house.
Let’s look at some fun crafts you can do with the kids while they learn new skills.
DIY Playdough: Create a fun and easy activity for young children
Creating your playdough can be a fun and easy activity for young children, stimulating their creativity and motor skills. Here’s a simple recipe to make it at home:
You’ll need:
2 cups all-purpose flour
3/4 cup salt
4 teaspoons cream of tartar
2 cups of water
2 tablespoons vegetable oil
Food coloring of your choice
Instructions:
In a large mixing bowl, combine the flour, salt, and cream of tartar.
Mix the water, vegetable oil, and food coloring in a separate smaller bowl.
Slowly pour the wet mixture into the dry mixture and stir until well combined.
Transfer the dough to a large pot and cook over low heat, stirring constantly until it forms a ball (approximately 3-5 minutes).
Remove the dough from the pot and let it cool before giving it to your child.
Store the playdough in an airtight container or ziplock bag to keep it from hardening.
Pro Tip: Add different scents to the playdough by adding a few drops of essential oils.
DIY Slime: Create an ooey-gooey sensory toy for kids
Making slime is a fun and easy DIY project for kids that provides a sensory and tactile experience. Here’s how to make your own:
Ingredients:
– 1 cup white school glue
– 1 cup water
– Food coloring (optional)
– Contact lens solution (containing boric acid)
– Baking soda
Instructions:
1. Mix the white school glue, water, and a few drops of food coloring (if desired) until well combined.
2. In a separate small bowl, mix 1 teaspoon of baking soda with 1 tablespoon of contact lens solution until the baking soda dissolves.
3. Add the baking soda into the glue mixture and stir quickly until the slime forms.
4. Use your hands to knead and stretch the slime until it reaches your desired consistency.
5. Once finished playing with the slime, store it in an airtight container to prevent it from drying out.
Pro tip: Adding glitter, beads, or other small objects to the slime can enhance the sensory experience.

DIY Popsicle stick crafts: Explore creativity with recycled materials
Popsicle stick crafts are an enjoyable and inventive way to repurpose recyclable materials into something unique and beautiful. Here are a few ideas of Popsicle stick crafts to create:
Popsicle Stick Photo Frames
Glue together Popsicle sticks to create a frame, decorate with paint, glitter and stickers or anything of your choice. Once the glue dries, attach a piece of cardboard or thin wood to create a backing for the photo frame.
Popsicle Stick Bird Feeder
Use Popsicle sticks to create a little house frame, add a roof and then cover front and back with sticks, making it a perfect area to spread bird feed. Once completed, hang on a tree with string.
Popsicle Stick Bracelets
Paint and decorate Popsicle sticks, bend them in a circular shape and glue them together to create a chic and fashionable bracelet.
These quick, easy, and affordable popsicle stick crafts are perfect for spending quality time with children and creating a DIY decor vibe for your home.
Pro Tip: Try experimenting with different shapes and sizes of Popsicle sticks to make more intricate and complex crafts.