If you’re someone who wants to stand out from the crowd and personalize your wearable tech, designing and 3D printing your own accessories is a fantastic option. Creating your own wearable technology accessories opens up a world of creativity and customization. So take a break from playing casino online roulette, grab your sketchbook, fire up your 3D design software, and let your imagination run wild in the exciting realm of wearable technology customization.
Step 1: Identify Your Needs And Inspiration
The first step in designing any accessory is to identify your needs and gather inspiration. What type of wearable technology accessory are you looking to create? Is it a smartwatch band, fitness tracker cover, or a unique pendant for a smart necklace? Take some time to research existing designs.
Step 2: Sketch Your Design
Now, it’s time to put your ideas on paper. Sketch out your design, taking into consideration the dimensions, shape, and any intricate details you want to include. This step will help you visualize your accessory and serve as a reference when you move on to the digital design phase.
Step 3: Use 3D Design Software
Next, you’ll need to transfer your sketch into a digital format using 3D design software. There are several user-friendly options available, such as Tinkercad, Fusion 360, or Blender. Import your sketch or start from scratch, and begin creating your design by manipulating shapes, adding details, and adjusting dimensions. Take advantage of the software’s tools and features to refine your design and make it ready for 3D printing.
Step 4: Prepare Your Design For Printing
Once you’re satisfied with your digital design, it’s time to prepare it for 3D printing. Start by checking your design for any potential issues such as intersecting or floating parts, thin walls, or overhangs that may require support structures.
Many 3D design software programs have built-in tools to help you identify and fix these issues. It’s crucial to ensure your design is watertight and suitable for printing.
Step 5: Choose The Right 3D Printer And Material
Now that your design is ready, it’s time to choose the right 3D printer and material for your project. Consider the size, resolution, and print quality you desire. If you don’t own a 3D printer, you can use a local maker space or find online services that offer 3D printing. Select a suitable material based on your accessory’s intended use. For flexible parts, TPU or TPE filaments are recommended, while PLA or ABS filaments work well for rigid structures.
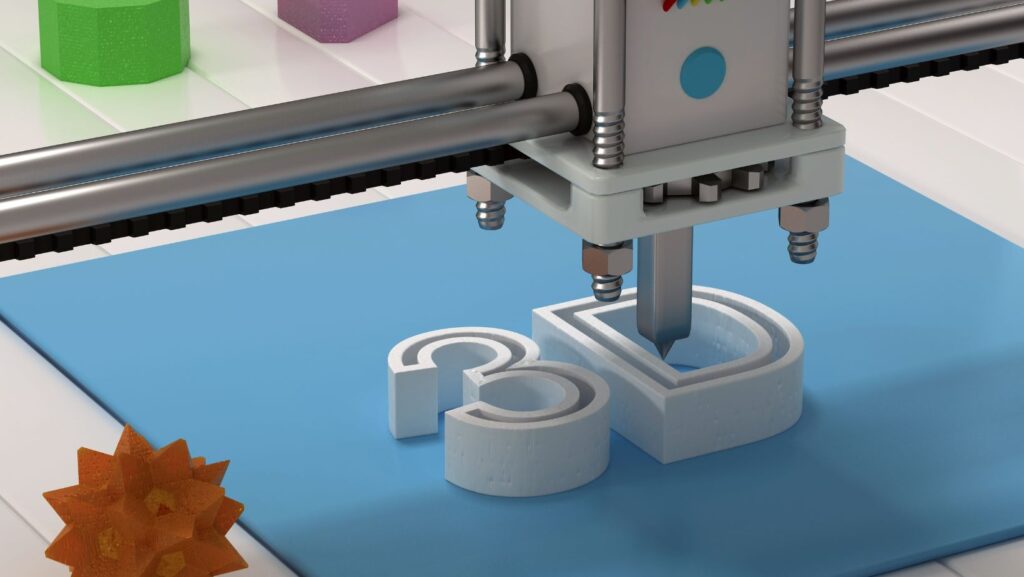
Step 6: Slice And Print Your Design
After choosing your 3D printer and material, import your design file into slicing software. Slicing software converts your digital design into layers and generates the instructions for the 3D printer to follow. Adjust the settings such as layer height, print speed, and infill density to achieve the desired balance between quality and print time. Save the sliced file to an SD card or connect your computer directly to the printer and start the printing process.
Step 7: Post-Processing And Finishing
Once the printing is complete, remove your printed accessory from the build plate. Depending on the material and printer used, you may need to remove support structures or perform additional post-processing steps like sanding or polishing. Use fine-grit sandpaper or a file to smooth any rough edges and ensure a clean finish. You can also apply paint, varnish, or other coatings to further enhance the appearance of your accessory.
Step 8: Test And Refine
With your 3D printed accessory in hand, it’s time to test its functionality and fit. If it’s designed to house electronic components, ensure that they fit properly and can be securely integrated.
Test the accessory with the wearable technology device it was intended for, making sure it functions as expected. If any adjustments or refinements are needed, take note of them and make the necessary changes in your digital design before proceeding to the final step.